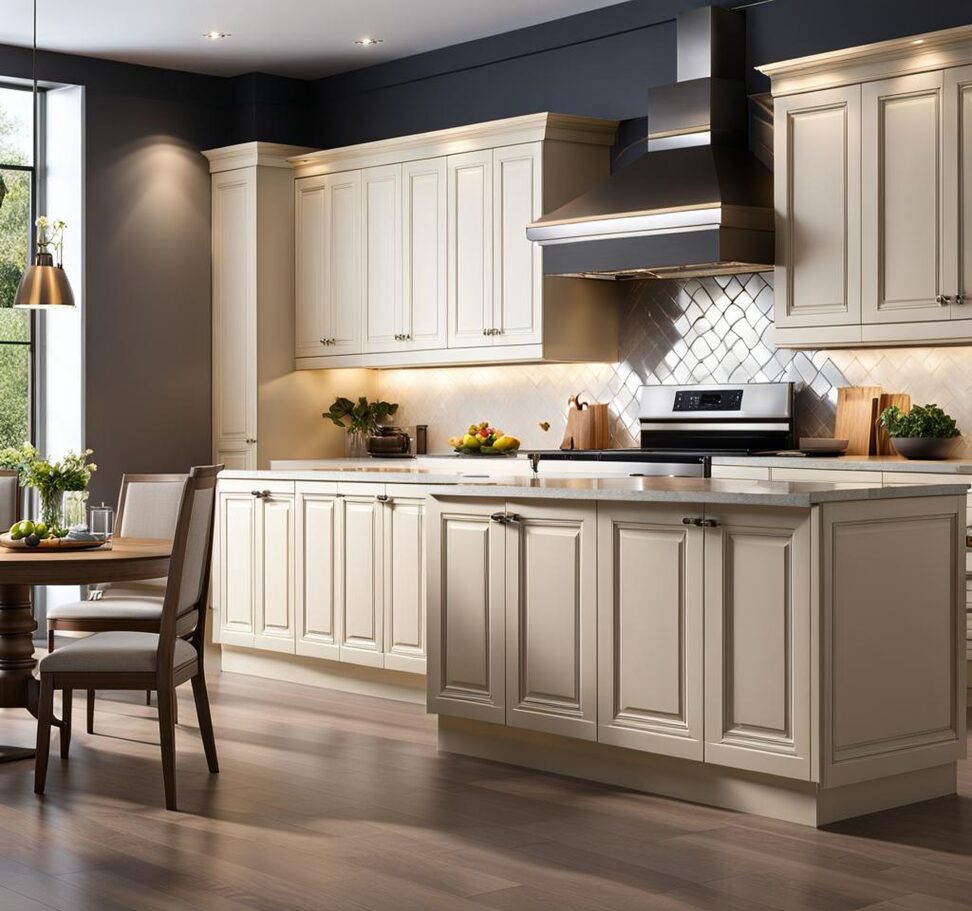
Effortlessly Install Kitchen Cabinets with This Simple Guide
New cabinets can instantly elevate the look and function of your home. While the thought of installing kitchen cabinets might seem daunting, this comprehensive guide will walk you through the process effortlessly, empowering you to tackle the project with confidence and achieve flawless results. Let’s delve into the world of cabinet installation and transform your kitchen into a space you’ll love.
Preparation: Effortlessly Tackle “How to Install Kitchen Cabinets”
Before embarking on your cabinet installation journey, it’s crucial to understand the different types and materials available. From traditional wood to sleek laminate, each option offers unique advantages and aesthetic appeal. Assess your needs, preferences, and budget to make an informed decision that aligns with your vision.
Wood cabinets, such as oak, maple, or cherry, exude warmth and timeless charm, but require more maintenance and are susceptible to moisture damage. Laminate cabinets, on the other hand, are highly durable, easy to clean, and available in a wide range of colors and finishes, making them a popular choice for modern kitchens.
Next, gather the necessary tools for a seamless installation process. While the exact tools may vary depending on the cabinet type, essentials like a drill, level, stud finder, clamps, screwdrivers, and a hammer will ensure precision and efficiency. Don’t forget to have a trusty tape measure on hand for accurate measurements.

Speaking of measurements, this step is critical to avoiding costly mistakes. Meticulously measure your kitchen space, accounting for any quirks or irregularities, such as corners, windows, or plumbing fixtures. Remember to double-check your measurements to ensure a perfect fit for your new cabinets. It’s also wise to measure the cabinet boxes themselves to confirm they’ll fit through doorways and tight spaces before installation.
Installation Process: A Seamless Journey
With preparation complete, it’s time to dive into the installation process. Start by laying out and leveling the base cabinets, ensuring a solid foundation for your kitchen masterpiece. Pay close attention to alignment and use shims if necessary to achieve a level surface. It’s essential to start with a level base, as any unevenness will be exacerbated as you build upwards.
Once the base cabinets are securely in place, shift your focus to the wall cabinets. Carefully mark the studs and secure the cabinets with the appropriate hardware, ensuring they’re level and aligned with the base units below. This step may require an extra set of hands, so don’t hesitate to enlist some assistance if needed. It’s also a good idea to use a cabinet jack or temporary support to hold the wall cabinets in place while securing them.
As the cabinets take shape, it’s time to tackle the doors and shelves. Ensure proper alignment and smooth operation by making any necessary adjustments. This attention to detail will not only enhance the overall aesthetic but also contribute to the longevity and functionality of your cabinets. If you’re installing hinges or drawer slides, follow the manufacturer’s instructions carefully for optimal performance.
Customization and Finishing Touches
With the foundation in place, it’s time to unleash your creativity and put your personal touch on the project. Explore innovative storage solutions that cater to your unique needs, such as pull-out shelves, lazy Susans, or built-in spice racks. These additions will not only maximize space efficiency but also elevate your kitchen’s organization game.
Next, consider the decorative hardware options that will complement your cabinet style and overall kitchen aesthetic. From sleek and modern to rustic and charming, the right hardware can tie the entire design together seamlessly. Don’t underestimate the impact of hardware – it can make a significant difference in the overall look and feel of your cabinets.
Finally, don’t overlook the power of lighting in enhancing the functionality and ambiance of your new cabinets. Strategic placement of under-cabinet lighting or interior cabinet illumination can transform your kitchen into a warm, inviting space that’s both practical and visually stunning. LED lighting is a popular choice for its energy efficiency and long lifespan.
Your cabinet installation journey doesn’t end with the final touch. Proper maintenance and care are essential to preserve the beauty and longevity of your investment. Familiarize yourself with the specific cleaning and care requirements for your cabinet material, whether it’s wood, laminate, or something else entirely.
For wood cabinets, regularly wipe down surfaces with a gentle wood cleaner and avoid harsh chemicals or abrasives that can damage the finish. Laminate cabinets are more resistant to stains and scratches, but you’ll still want to clean them with a mild soap and water solution.
Additionally, be proactive in addressing any potential issues that may arise. From minor adjustments to more significant repairs, staying on top of maintenance will prevent small problems from escalating into larger, costlier ones. For example, if a cabinet door starts to sag or a drawer becomes sticky, address the issue promptly to avoid further wear and tear.
Lastly, consider implementing protective measures to safeguard your cabinets against wear and tear. Cabinet liners, for instance, can protect against scratches and spills, ensuring your cabinets maintain their pristine condition for years to come. You may also want to apply a clear, protective topcoat to wood cabinets for added durability.
By following these comprehensive steps, you’ll not only effortlessly install your kitchen cabinets but also create a space that exudes style, functionality, and longevity. Embrace the journey, unleash your creativity, and revel in the satisfaction of a job well done. With proper preparation, attention to detail, and a commitment to maintenance, your kitchen will be a source of pride and enjoyment for years to come.